 |
| image courtesy of f3y.com |
Healthy
Glow
We
all love having a radiance glow, like the one we attain during the summer
months, so why not obtain a healthy summer glow all year round? Below are my
tips to attain and maintain a healthy glow naturally throughout the year.
The
thing about radiance is, is that it’s a sign of healthiness the skin has as
well as it being moisturized. This means foods that bring moisture into the
skin will bring a natural radiance to your skin. When collagen in your skin is
strengthened, then you are able to have a glow to your face. In other words,
loss of moisture equals to loss of radiance. When we age, our skin becomes drier;
some people are born with dry skin. This leaves a matte looking complexion, so
let’s not have this complexion. Remember to look for foods that are infused
with Vitamins A and C. Dehydrated skin still attains radiance, as it contains
moisture, just not hydration. It differs. Dehydrated skin is a skin condition,
not a skin type. Therefore, skin can age gracefully. I have dehydrated skin,
and I don’t have any wrinkles/fine lines, dark circles or bags on my face. My
skin is still young and aging really well. My skin type is normal. Let’s get
that luminous skin!
 |
| image courtesy of fitnessandhealthadvisor.com |
Green
Tea
What
I love about green tea is how excellent it is. Drinking green tea is so refreshing.
It contains Vitamin C. In addition, it is excellent for anit-aging reasons, for
example strengthening collagen, as well as bringing moisture back into the
skin.
 |
| image courtesy of recipehubs.com |
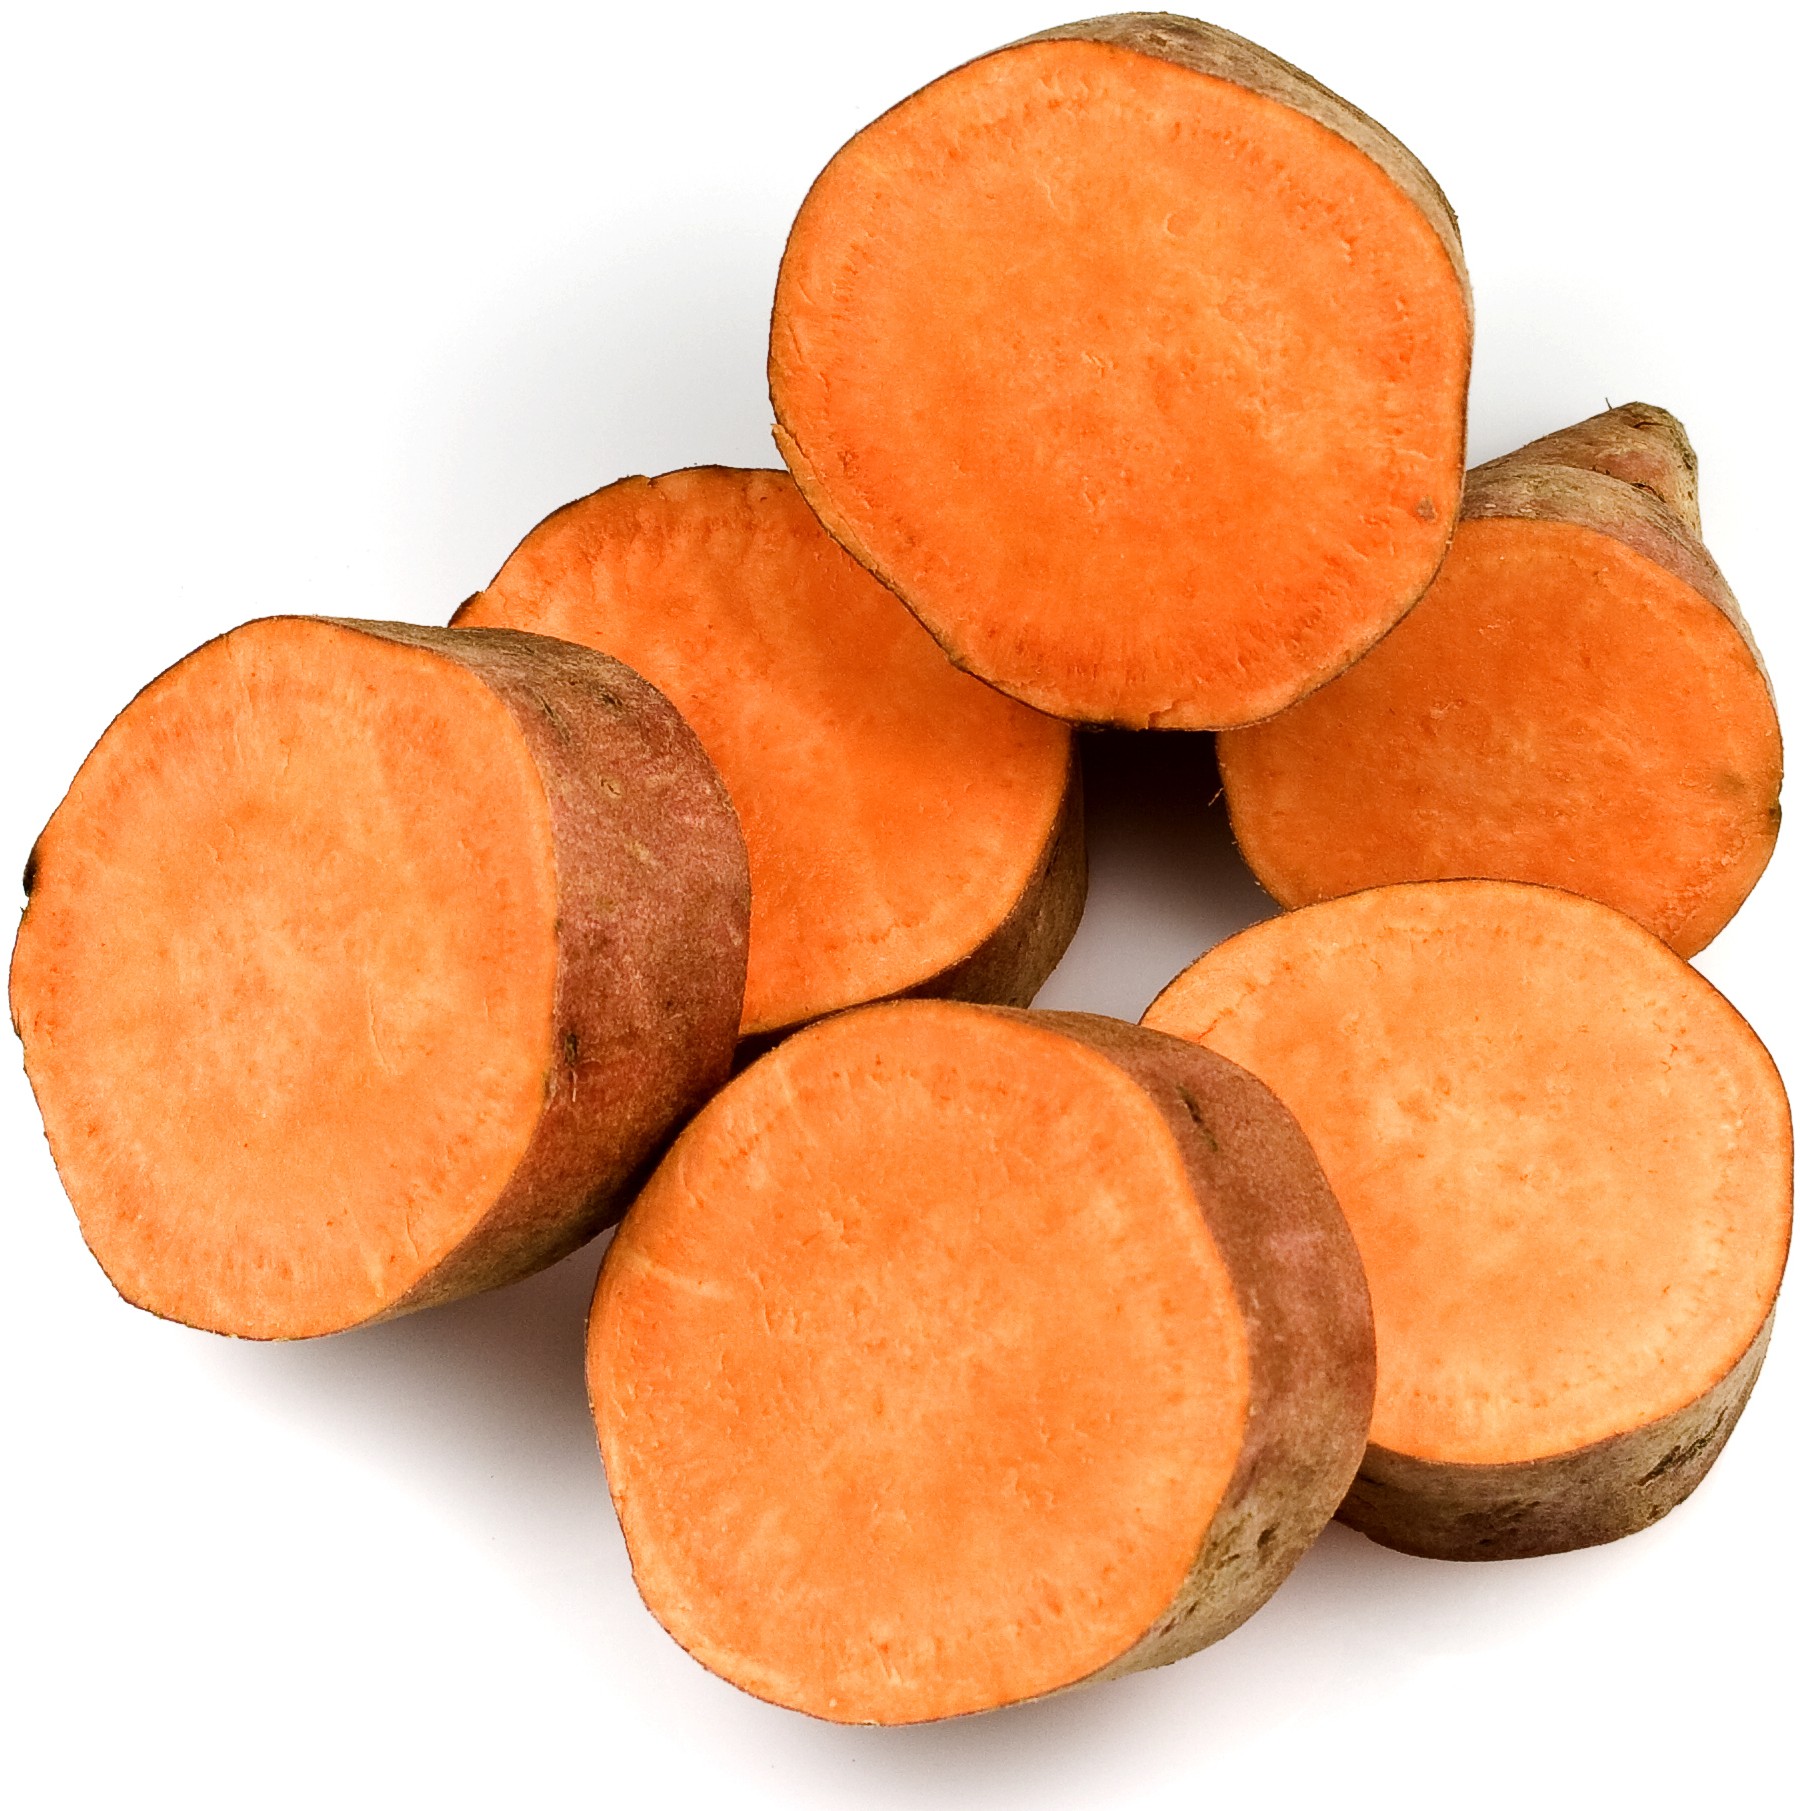
Sweet
Potatoes
Sweet
potatoes are infused with something called Beta Carotene. Beta Carotene
converts to Vitamin A when it enters into our system. It is an anti-oxidant
that distributes a golden radiance. Whether you eat sweet potatoes or use it as
a toner (recipe listed below) will give you that beautiful glow.
| image courtesy of foodnetwork.com |
Salmon
This
is a fish that is rich that concentrates of healthy fatty acids called omega-3.This
type of healthy fats nourish the skin. It helps to decrease clogged pores,
 |
| image courtesy of foodnetwork.com |
Drink
a glass of cucumber water
Cucumber,
along with celery, watermelon, well, practically all melons contain 90% of
water, which means it delivers an excellent of moisture content, so you can
have luminous skin, even in the winter. It’s best to eat cucumbers with the
skin, considering this where most of the nutrients are stored. Cucumber water,
if you haven’t drank it before, it something you should really try. It’s
delicious. So, is lemon water.
 |
| image courtesy of weknowyourdreams.com |
Tea
Yes,
I have mentioned green tea, but I love tea, whether it’s black flavoured tea
(requires no sugar or even milk), herbal tea, white tea, oolong tea or other
types of tea. It all helps to restore luminous skin. I do drink a fair amount a
day.
 |
| image courtesy of santevia.com |
Tomatoes
Tomatoes
are high in Vitamin A. The lycopene content in your skin will increase and
naturally, it will leave your skin silky smooth. Plus, it delays the signs of aging
(wrinkles/fine lines), due to tomatoes being full of moisture.
Nutrient Recipes from Aloha!
 |
| image courtesy of aloha.com |
Healthy Apple Pie Protein Smoothie
We recently made homemade applesauce at the ALOHA HQ (recipe here). It was so much healthier and even more delicious than store-bought apple sauce! So I decided to make a healthy meal out of it.
Apple pie is amazing any time of year. But as the seasons change, it is particularly enjoyable... even when it is healthy! This recipe works just as well with store-bought applesauce, just add one teaspoon cinnamon.
Ingredients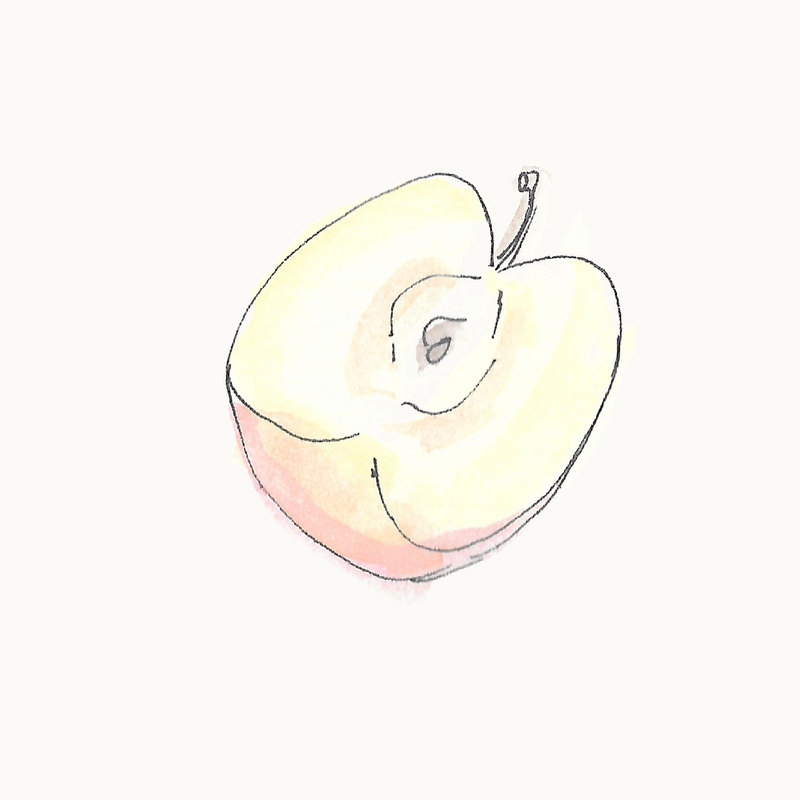
*1 cup water
1 cup applesauce
1 serving ALOHA Chocolate Protein
1/2 cup yogurt of choice
2 teaspoons ALOHA Coconut
1/2 ripe banana
1/4 cup pecans
Optional: 1 cup spinach
*for a thicker smoothie, use 3/4 cup water
Preparation
Starting with the water, add all ingredients to a blender or food processor. Blend well and enjoy!
Photo Credit: Erin McCulloch, Julia Taylor Brown
 |
| image courtesy of aloha.com |
Baked Apple Chips
This four-ingredient apple chip recipe is simple to make and is perfect for when you are on the go.
Ingredients
2 Golden Delicious apples; peeled, cored, and thinly sliced
juice of 1/2 lemon
1 tablespoon ALOHA Coconut, or coconut sugar
1/2 teaspoon ground cinnamon
Preparation
1. Preheat oven to 225ºF.
2. Arrange apple slices on a baking sheet.
3. Mix ALOHA Coconut, lemon juice and cinnamon together in a bowl; sprinkle over apple slices.
4. Bake for 45 minutes to one hour until apples are dried and edges curl up.
5. Use a metal spatula to transfer the apple chips to a wire rack until cooled and crispy.
* Jeannine’s extra tip: use a slicing blade to slice the apples extra thin!
Photo Credit: Shutterstock
 |
| image courtesy of aloha.com |
Coconut Almond Protein Candies
As a child I thought: when I grow up I will only eat candy. My mother (wisely!) regulated my sugar intake, which seemed unreasonable. Now, 20 years later, you can't pay me to eat processed sugar. Will my candy dreams ever come true?! With some healthy ingredient swaps, maybe!
I brought these nutritious candies to the ALOHA HQ and my teammates went crazy for them—they thought they tasted even better than the originals! This recipe works without protein, but everyone here, including myself, preferred them with the protein. My mother would be so proud!
Makes 12 to 16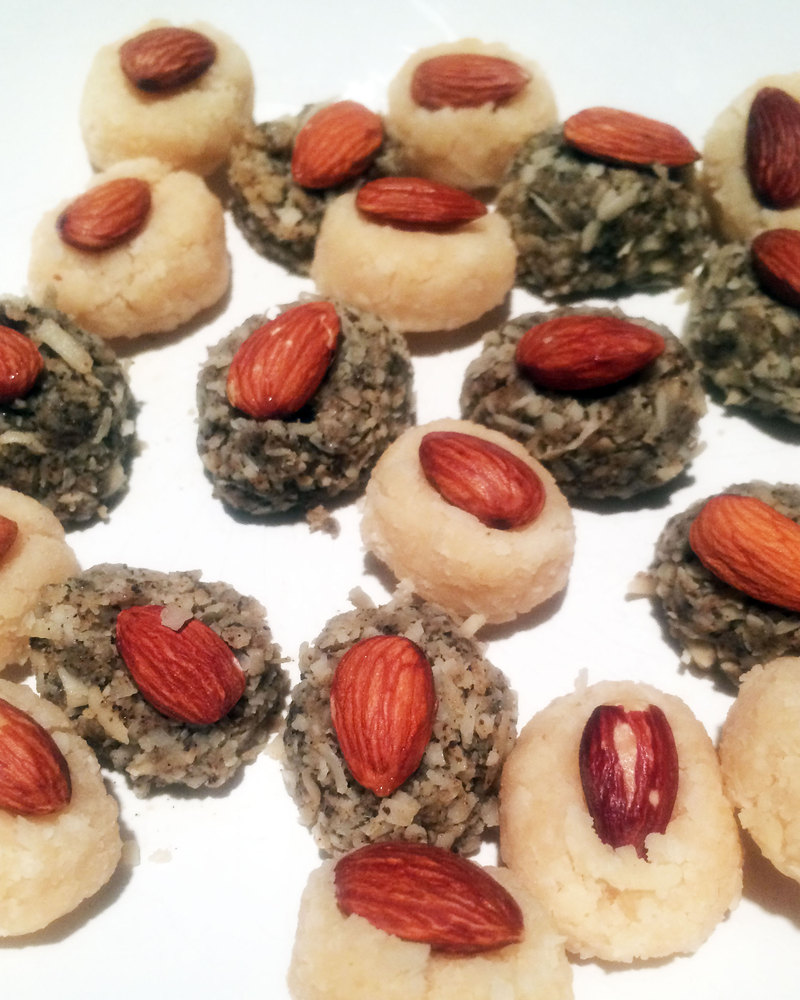
Ingredients
2 cups shredded coconut
3 tablespoons coconut oil
3 tablespoons ALOHA Coconut or coconut sugar
1 teaspoon vanilla extract
1 serving ALOHA Vanilla Protein
1/8 teaspoon salt
1 bar ALOHA Chocolate or 8 ounces bittersweet chocolate
11 to 16 roasted almonds (I chose salted for that sweet and salty balance, but that is up to you!)
Preparation
In a blender or food processor add the coconut oil, vanilla, dry ingredients, and then the shredded coconut. Blend until it forms a thick paste, about three minutes. The mixture should hold together when you squeeze a small amount in your palm. If it does not, or if there are still large coconut pieces, continue to process for a couple more minutes.
Take tablespoon-sized portions of the coconut mixture and roll them into oval shapes—I used the palm of my hands. Place your coconut mounds onto a plate or dish that will fit in your freezer. If you want to line your dish with parchment paper, by all means! But I didn't need to.
Place an almond on top of each mound. You do not need to press the almond into the mound—laying it on top will make that pretty almond shape when you coat it with chocolate.
Place the coconut mounds in your freezer for about 15 minutes, or until you are ready. Once the mounds have firmed, you can melt the chocolate. I used a microwave for one minute, but the stove works as well. It is helpful to undercook the chocolate—thicker is easier to manage and it doesn't need to be torched to move around.
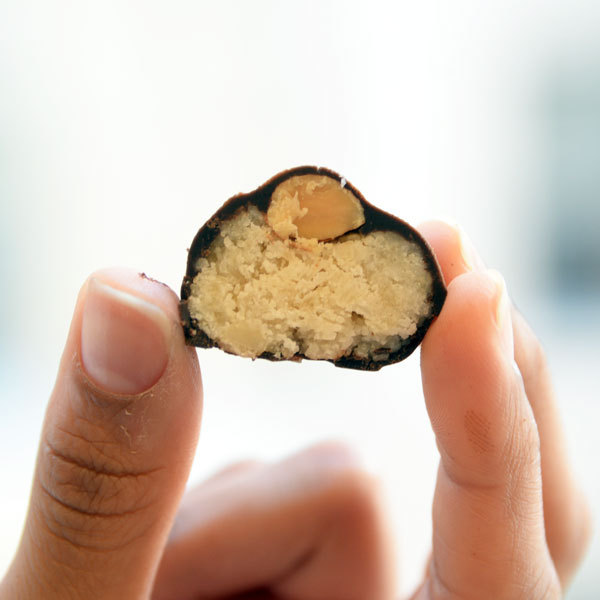
When the chocolate is melted, take out the frozen coconut clusters. If you are fancy, you can use a toothpick. If you are a "messy kid" looking for an excuse to lick all the chocolate off of your finger, ditch the pick. Either way, you need to coat these little guys in chocolate.
Carefully insert a toothpick into a bar (or pick it up with your fingers). I used a spoon to pour a little chocolate on the top make sure the almonds are sealed on there. Because the mounds are frozen, the chocolate will set pretty fast. Dip the rest of the mounds in the melted chocolate making sure it all gets covered. Lift the candy out and let any excess chocolate drip off.
Place the chocolate-covered candies back onto your plate. Remove the toothpick if applicable—using another toothpick to hold down the coconut almond candies while removing the toothpick might be helpful. Repeat the process with the remaining candies.
Place the candies in the freezer for a few minutes to fully set. If you are not eating them immediately, you can store them in your freezer or refrigerator for a couple weeks—just be sure to use an well-sealed container.
These are best eaten at room temperature—let them thaw off before consuming. Enjoy the joys!
I brought these nutritious candies to the ALOHA HQ and my teammates went crazy for them—they thought they tasted even better than the originals! This recipe works without protein, but everyone here, including myself, preferred them with the protein. My mother would be so proud!
Makes 12 to 16
Ingredients
2 cups shredded coconut
3 tablespoons coconut oil
3 tablespoons ALOHA Coconut or coconut sugar
1 teaspoon vanilla extract
1 serving ALOHA Vanilla Protein
1/8 teaspoon salt
1 bar ALOHA Chocolate or 8 ounces bittersweet chocolate
11 to 16 roasted almonds (I chose salted for that sweet and salty balance, but that is up to you!)
Preparation
In a blender or food processor add the coconut oil, vanilla, dry ingredients, and then the shredded coconut. Blend until it forms a thick paste, about three minutes. The mixture should hold together when you squeeze a small amount in your palm. If it does not, or if there are still large coconut pieces, continue to process for a couple more minutes.
Take tablespoon-sized portions of the coconut mixture and roll them into oval shapes—I used the palm of my hands. Place your coconut mounds onto a plate or dish that will fit in your freezer. If you want to line your dish with parchment paper, by all means! But I didn't need to.
Place an almond on top of each mound. You do not need to press the almond into the mound—laying it on top will make that pretty almond shape when you coat it with chocolate.
Place the coconut mounds in your freezer for about 15 minutes, or until you are ready. Once the mounds have firmed, you can melt the chocolate. I used a microwave for one minute, but the stove works as well. It is helpful to undercook the chocolate—thicker is easier to manage and it doesn't need to be torched to move around.
When the chocolate is melted, take out the frozen coconut clusters. If you are fancy, you can use a toothpick. If you are a "messy kid" looking for an excuse to lick all the chocolate off of your finger, ditch the pick. Either way, you need to coat these little guys in chocolate.
Carefully insert a toothpick into a bar (or pick it up with your fingers). I used a spoon to pour a little chocolate on the top make sure the almonds are sealed on there. Because the mounds are frozen, the chocolate will set pretty fast. Dip the rest of the mounds in the melted chocolate making sure it all gets covered. Lift the candy out and let any excess chocolate drip off.
Place the chocolate-covered candies back onto your plate. Remove the toothpick if applicable—using another toothpick to hold down the coconut almond candies while removing the toothpick might be helpful. Repeat the process with the remaining candies.
Place the candies in the freezer for a few minutes to fully set. If you are not eating them immediately, you can store them in your freezer or refrigerator for a couple weeks—just be sure to use an well-sealed container.
These are best eaten at room temperature—let them thaw off before consuming. Enjoy the joys!
For more recipes, check out www.aloha.com
Natural
Homemade Beauty Recipes
Below are my favourite homemade beauty
recipes for glowing skin. Take a peak:
Exfoliating
 |
| image courtesy of theguardian.com |
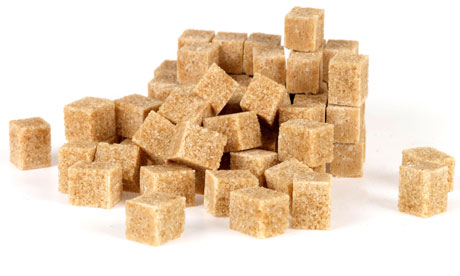
Brown
Sugar
Brown
sugar is like wet sand when you apply it on your face. It’s gentle enough to not
damage your skin, and tough enough to remove dead skin on your face. It isn’t
something you need to use daily. It’s more like use it two to three times a
week. The other benefit of brown sugar is that is moisturizes your skin while
the dead skin is being removed to unclog your pores. Brown sugar is coated with
molasses. Molasses contains Vitamin B12, this means that your skin is being
healed and providing future prevention of any sun damage, for example sun spots
(brown spots, age spots). Plus, sings of aging due to the sun. What a great
bonus!
Ingredients:
1.
1
spoonful of brown sugar
2.
Honey
(optional)
3.
Bowl
4.
Wet
face cloth
5.
Dry
face cloth
Directions:
In a bowl, put
brown sugar. Wet face, apply brown sugar. Massage onto your face. Remove the
mixture with your face cloth. Pat dry. Silky soft skin. Mix honey with the
brown sugar for additional moisture to ensure glowing skin.
Toners
 |
| image courtesy of justnaturallife.com |
Lemon Juice
Ingredients:
Jar
Lemon or
lemon juice
Water
Directions:
Pour the
lemon juice into a jar. For sensitive skin, dilute it with water. I normally
shake the contents together; however, you can stir it. Apply on your face after
you have cleansed it.
You can always just drink lemon juice.
|
| image courtesy of recipehubs.com |
Sweet Potato
Once you have
completed cooking sweet potatoes, use the sweet potato water, which is filled
with nutrients, and place it into a jar. Use it as a toner.
These two
toners will have your skin looking and feeling great, luminous, in fact. In my
opinion, my skin also feels clean, as
Face Masks
I love egg
masks. I’ve been using them since I was a teenager, sixteen, maybe. I’ve used
only egg white and egg yolk masks. Egg yolk is excellent to achieve glowing
skin.
 |
| image courtesy of natural-homeremedies-for-life.com |
Egg White
I love egg
white masks. Egg white masks tighten and tone the skin, along with conveying
luminosity to your skin. It does reduce excess amounts of sebum, such as acne
blemishes. In addition, egg whites removing blackheads.
Ingredients:
1.
Egg white
2.
Bowl
3.
Face
Cloth
Directions:
Separate the
yolk from the egg white into a bowl. I normally apply the egg white right onto your
face. When the mask has dried, to which it can take fifteen minutes, at least. Do
wait until the mask has dried before removing it. Remove egg white mask with a
face wash cloth.
Hope you’ve
enjoyed my tips in achieving a healthy summer glow all year round.
Check out and follow Alohoa!
Facebook: https://www.facebook.com/aloha
Twitter: https://twitter.com/aloha
Pinterest: https://www.pinterest.com/alohamoment/
Instagram: https://www.pinterest.com/alohamoment/
For more, please visit: www.aloha.com
Connect with Me:
Facebook: www.facebook.com/
Twitter: www.twitter.com/staceycamacho
Instagram: www.instagram.com/
Pinterest: www.pinterest.com/
Is there a sweepstakes contest or giveaway you would like to collaborate with Stacey Camacho? Email staceycamacho24@gmail.com
Are you interested in being A Guest Blog Post? Hit Stacey up with an email: staceycamacho24@gmail.com
Would you like a product review or interview on Face by Stace blog? Send Stacey an email at staceycamacho24@gmail.com
Do you want to advertise on Stacey's blog, Face by Stace? Send your email to staceycamacho24@gmail.com
Do you want to advertise on Stacey's blog, Face by Stace? Send your email to staceycamacho24@gmail.com
Do you have beauty question? Hit me up at staceycamacho24@gmail.com
Looking forward in hearing from you!
Looking forward in hearing from you!
No comments:
Post a Comment